April 10, 2010

Steel Cut Oats

DSC_0137

I've been eating oatmeal for breakfast almost every day. I'm finding that I'm fuller for much longer, and I have more energy, too. I tried this recipe on Picky - the original recipe has cinnamon whipped cream for the top. Even with the whip cream, it was ultimately rejected based on texture (she did admit that it tasted good, though - and at least she tried it...). Oh well, it's a keeper for me. Sometimes we spend so much time concentrating on the little ones, that we forget to take care of ourselves.
 
DSC_0134

The recipe is super easy. It does take awhile to cook, but I'm finding that I can use the time it's simmering to put away the clean dishes, make breakfast for Picky, and sip on my morning coffee...
Start with 2 cups of milk (I've been using 2%), 2 cups of water, and a pinch of salt.
Bring the water/milk to a boil on med/high heat, and then add 1 cup of steel cut oats and turn the heat down to low - you're going to simmer it for 30 minutes, or until tender and creamy.
The original recipe has you adding dried fruit just before serving (and whipped cream on top), but I like to add the fruit in while it cooks - if you add dried cranberries, it gives the oatmeal a bit of a pink color. I like the texture of cooked dried fruit, but you can add it after if you like. I put about 1 handful of dried cranberries or raisins.
DSC_0136

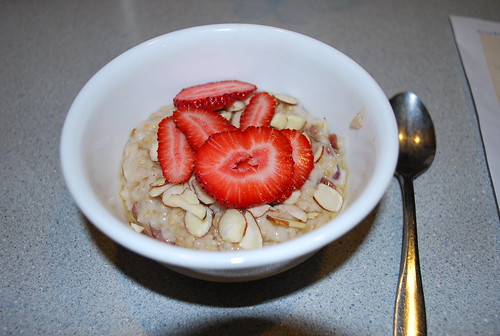
Serve the oatmeal with a drizzle of honey, some sliced almonds, and fresh fruit, if you like. Yummy! I adapted this recipe from The Family Kitchen by Debra Ponzek

April 7, 2010

New Cookbook, again!!!

I couldn't help myself. I'll get rid of some of my old cookbooks, I swear! I was at Costco, and saw Jamie's Food Revolution, and had to have it. I have a few of his early "naked chef" books, and he had some great stuff, even then. I think he's come a long way, and I'm impressed by his dedication to a cause that needs attention right now. The recipes look great, Picky saw several pictures that she loved (don't get too excited, it doesn't mean she'll actually try it if I cook it...). I even passed up the new cookbook by Alice Waters, although I may pick it up eventually. 

I love Jamie's premise for the book: he invites you (or challenges you) to learn a few recipes from each chapter and then pass them on to one or two others. That's practically an invitation to blog his recipes! Although, really, I'd be preaching to the choir: it's not likely that someone who is uninterested in cooking would be looking at a food blog. Still...
I'm excited to try a few new recipes (and see if I can get Picky to try a bite or two), and I'm excited to follow what Jamie Oliver is doing with his "revolution", and where this all goes! Happy Cooking! :)

April 1, 2010

Carrot cake: a complete food.

IMG_1515

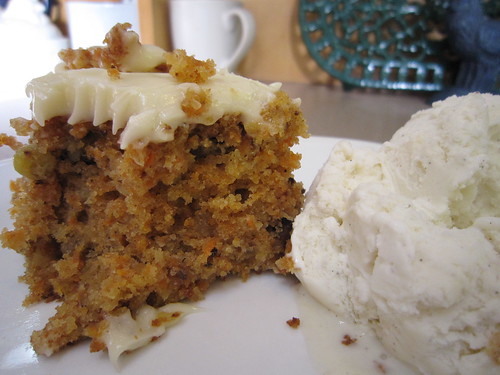
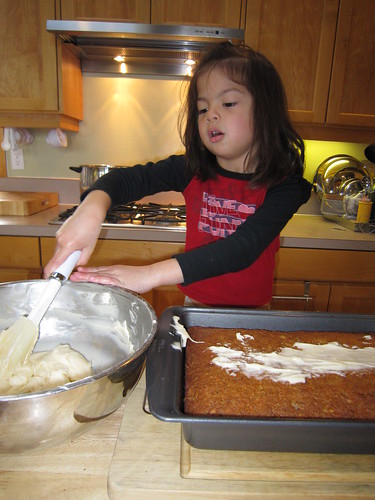
My grandmother's motto was "A balanced diet is a cookie in each hand." My mother's motto is slightly different: "Carrot cake is a complete food." I have to agree with my mom, here (although my grandma makes perfect sense...); carrot cake has everything you could possibly need, especially the way we make it. We subscribe to the "more is better" attitude when it comes to carrot cake. First of all, it should have so many carrots in it that it hardly holds together. Then, it's not proper carrot cake without raisins and nuts, and possibly coconut and pineapple as well. Slather it with a thick layer of cream cheese icing. And now you can eat it for breakfast, lunch, and dinner: protein, fruit, veggies, grains...

IMG_1484

IMG_1488


My mom hadn't had a proper carrot cake in awhile, and I've been meaning to find a good recipe. My friend Isabelle pointed me in the direction of King Arthur Flour's recipes (I actually have one of their cookbooks, and I've been ordering stuff from them for years, but never noticed the "guaranteed recipes" that they have on their web site.) Well, her birthday was last week, and we had just the opportunity we needed!


IMG_1486


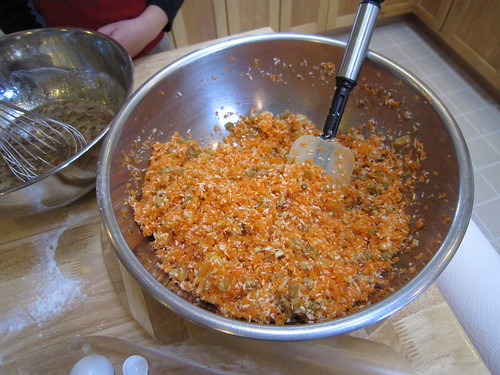
We started with this lovely recipe. Of course, we had to fiddle with it a bit (I had to get that habit from somewhere...). In this case, we used drained canned pineapple instead of dried, 1/2 a cup of golden raisins that had been soaking in rum (I believe my mom put the raisins to soak as we were assembling, and then drained them and added them to the carrot mixture, but I have to defer to her on this one - mom?), and a handful of crystallized ginger, chopped, also added to the carrot mixture.


IMG_1489

IMG_1510

Oh, yum! This cake is beautiful. And yummy. I could seriously live on this cake alone. And so could my mom. After all, it has everything you need! Picky, of course, liked the frosting the best, and could have done without the nuts. She still ate it, I noticed (although she kept asking for more frosting, but who could blame her?).

IMG_1503

March 17, 2010

Polenta "pizza"

DSC_0074

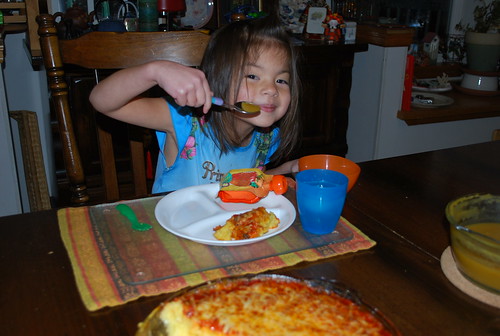
Polenta is actually very easy to make, and it's fairly kid-friendly for a whole grain - especially when you serve it with some familiar flavors.

DSC_0029

I have found that the easiest way to make it is in a double boiler - it takes longer than other methods, but it's pretty hands-off. If you don't have several hours at home when you can cook it (while doing other things), then make it at night or on the weekend, pour it in the pie pan, and refrigerate it until you're ready to top it and bake.

Polenta: (from A New Way to Cook by Sally Schneider)

1 cup polenta or yellow cornmeal, preferably coarsely ground
1 tsp kosher salt
4 cups cold water

To cook polenta in a double boiler: In the top of the double boiler, combine the polenta, salt, and water (or use a stainless steel bowl set over a saucepan of simmering water). Set over, not touching, simmering water, cover with a lid (or foil), and stir the polenta frequently during the first 20 minutes. After that, stir the polenta every 20 to 30 minutes for a total of 1 1/2 to 2 hours until the polenta is thick and has no trace of bitterness. (Replenish the simmering water as necessary.)

At this point, I've lately been stirring in some winter squash that I bake while the polenta is cooking - it doesn't add much flavor, maybe a bit of sweetness, but it does add some nutrients, and you hardly notice it.

Then I pour the mixture into a pie pan and smooth it out. You can cover and refrigerate it until you are ready to finish the dish.
DSC_0032

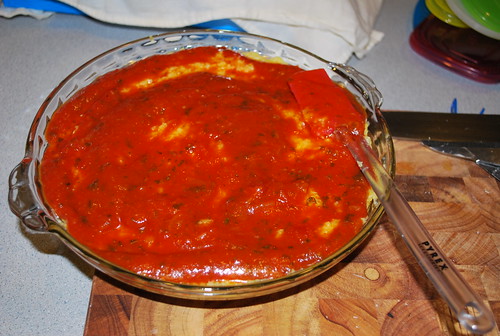
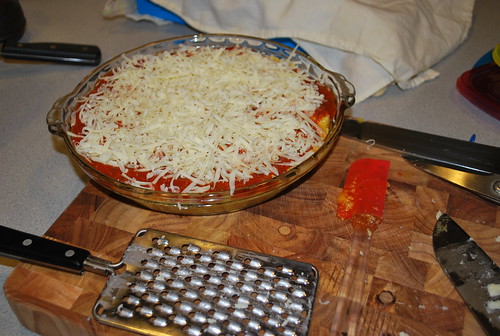
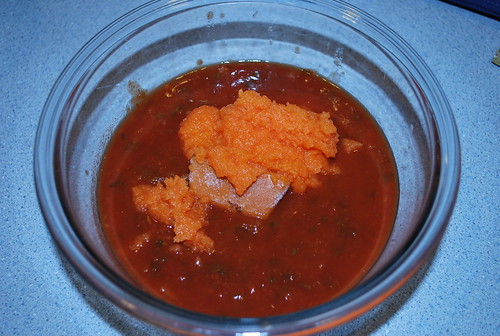
There are a lot of options for polenta toppings. This one is particularly kid friendly - I'm just adding tomato sauce (either home-made or not, depending on what you have) and cheese. I often add pureed yams or carrots (or both) to jarred sauce - I make a puree and freeze it in an ice cube tray, and then put the cubes in a plastic bag. When I want to use them, I just heat them in the microwave and stir it in. You can also use canned pumpkin, or some of that baked squash, if you made some for the polenta.
DSC_0033

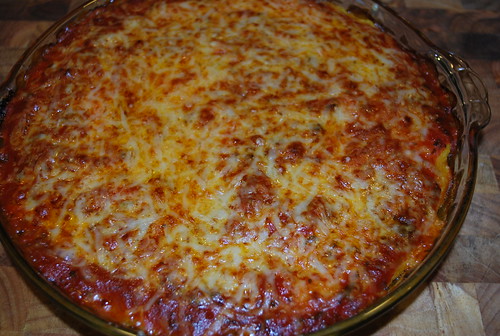
This looks like a Pyrex commercial...
DSC_0034

DSC_0037

Bake it in the oven until the cheese melts - polenta works well with stronger cheese flavors: I'm using a very sharp cheddar here, but you could stir feta into the polenta before you put it in the pie pan, or you could top with Gorgonzola or whatever you think your kids would eat. If mild is the only thing that will pass your child's lips then go for it.
DSC_0038

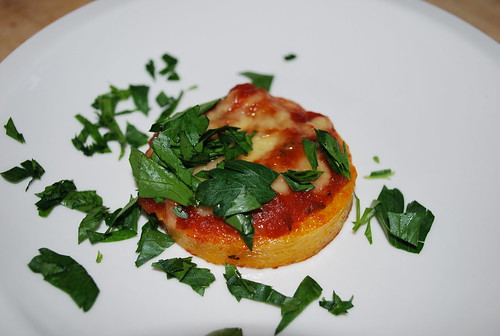
For members of the family that don't gag when their food is covered in "green bits", add flat leaf parsley and cracked pepper. Yummmm!
DSC_0039

DSC_0068

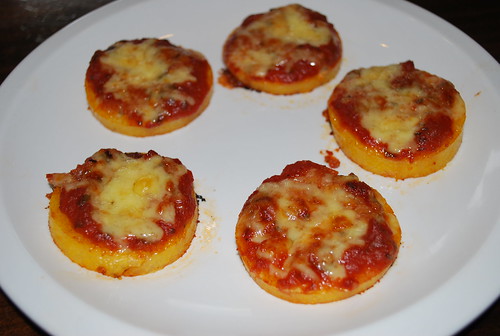
Of course, if you really don't feel like making polenta, you can buy pre-made polenta logs - I got one at Trader Joe's and sliced it up, just to see how it would compare. Here they are on a baking tray.
DSC_0069

Here is the store-bought sauce with pureed carrot and yam. Sometimes I make my own sauce and freeze it in batches, but I've been way too lazy lately...
DSC_0070

Aren't they cute?

DSC_0071

DSC_0072

DSC_0074

Mmmmm, parsley. Did I tell you I have a thing for parsley?

March 15, 2010

ZOMBIE sugar cookies

DSC_0062

I had some sugar cookie dough in the freezer, left over from the holidays. I forget why we decided to make zombie cookies out of them, but there it is.

DSC_0060


Daddy and Picky had tons of fun decorating the "zombies" (some of them are zombie butterflies...) with sprinkles and royal icing.


DSC_0059


I tried to make sinister colors, but really they came out super-pink and a pleasant green color. Daddy still managed to make the cookies look creepy somehow, and Picky was right behind him.
 

DSC_0066

March 11, 2010

Easy-peasy bread puddin'

DSC_0051

Well, this little gem is everything I like in a recipe: easy, easy, and very kid-friendly. When I said "bread pudding" to Picky, of course she was instantly suspicious. But when I mentioned chocolate chips, I had her attention! I've never heard of making bread pudding in the microwave, but it worked like a charm! I put one tablespoon of white chocolate chips, and one of mini semi-sweet chocolate chips. The total time in my microwave was 4 minutes. I'm pretty sure this recipe showed up on Facebook because I'm a fan of King Arthur Flour, and I tried it within the hour (why not? I was at home with a sick kid today anyway...). Go here to get the recipe. 


DSC_0050


Picky insisted I take a picture of her posing with the pudding. And, of course, she loved it.

February 23, 2010

The sandwich maker returns: chicken in puff pastry

DSC_0012 (2)

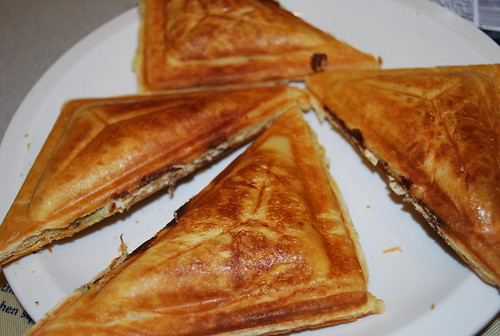
Someone stop me!! Ever since I found out that I could make things besides sandwiches in my sandwich maker, (like pancakes...), I've been going crazy experimenting with the thing! I've made cornbread, omelets, and chicken in puff pastry. The puff pastry experiment was probably the best one - neat little triangles of pastry dough filled with chicken, broccoli, pesto, and cream cheese. Of course, you could do any filling - I had some left-overs from making calzones a few nights before. So, I thought: if it's good in a calzone... Of course, puff pastry dough is not exactly a health food (disclaimer!!) - but...

DSC_0002 (2)

DSC_0004 (2)

DSC_0005 (2)

DSC_0006 (2)

DSC_0008 (2)

DSC_0009 (2)

DSC_0011 (2)

I mean, don't those look tasty?? Who knew I could do that in a sandwich maker? Of course, I could also do it in the oven, but would they come out looking so perfect? I used this recipe as a starting point, although I used a different filling, obviously. And I sprayed the thing with nonstick oil instead of using margarine. You could totally do turnovers! I'm getting goofy with this now - dh and I were joking about having a sandwich press Thanksgiving this year - we could have 5 or 6 of them running simultaneously - you wouldn't be able to tell what you're eating except by the color - you could walk around with your wine in one hand and a triangle in the other. 


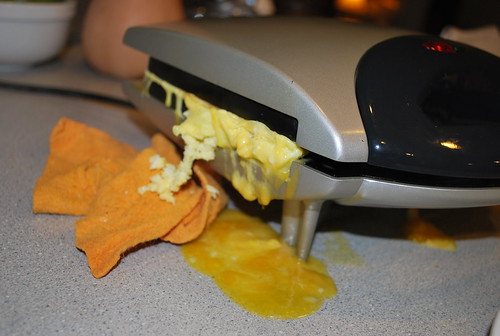
Anyway, I'd love to tell you about the omelet experiment, but I'm too tired, so it'll have to wait. I'll just give you this picture to ponder:


DSC_0028 (2)

February 22, 2010

Popcorn honey balls

DSC_0021 (2)


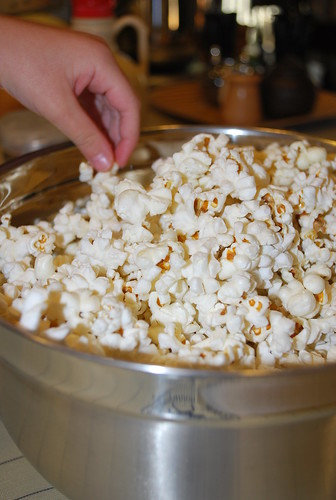
These were so easy to make! I can't believe I've never tried this before. Of course, Picky has only been daring to eat any form of popcorn for 3-4 months now, but still. I got the recipe from a book that I believe is now out of print called "The Good Goodies" by Stan and Floss Dworkin. I managed to pick up an old copy through e-bay after I saw the title mentioned in another cookbook (I think Laurel's Kitchen, or Laurel's Bread Book). They have some good recipes, although they also have some outdated ideas about nutrition. One is that honey is better for you than sugar (it isn't), and so they have tons of candies made with honey in there. The other is that carob is better than chocolate (I'm not sure about this one, but I have my doubts...plus I don't like carob...). Anyway, they do have a lot of treats and snacks with very wholesome, simple ingredients. Like this one. It only has 3 ingredients: oil, popcorn, and honey. You gotta love the simplicity. If you have an air-popper, you can probably skip the oil part. I don't, I have this great old-style popcorn maker pan from Back to Basics - although you can cook popcorn in any large pot, of course.


DSC_0016 (2)

Popcorn Balls

  • 1 to 2 Tbsp vegetable oil
  • 1/2 cup popping corn
  • 1/2 cup honey

Oil the bottom of the pot with a thin layer of oil (I use canola). Pour in the popping corn and shake the pot to oil the kernels. Cover pot tightly.

Turn the heat to high and begin to shake the pot. Keep shaking while the corn is heating and for the first few seconds of popping. As the popping sounds come closer together, stop shaking. Leave the heat on until it stops popping.

Pour the popcorn into a big bowl.

Put the honey into a small saucepan, bring to a boil over low heat, and simmer for 10 minutes.

Pour the honey over the popcorn, and, with a pair of forks, begin to toss the corn gently, to get as much of it covered with honey as you can.

Here the directions say to wait until just cool enough to handle before pressing large handfuls together into balls - but I tried to do this before the honey was cool enough to stick and it was a frustrating experience. Just know that if the popcorn won't stick together, you should wait a few minutes until it cools a little more and try again. You probably don't need to try to spray your hands with canola oil, like I did...

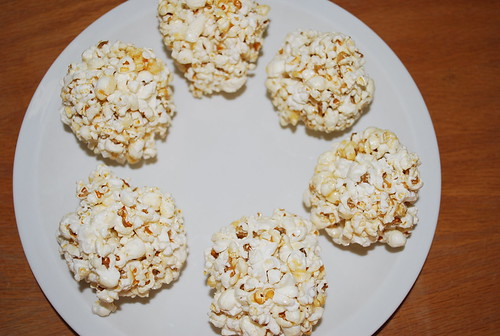
Wrap each ball in waxed paper. They will keep for a week or so. The amount this makes depends on what size the balls are - I made 16 medium-sized balls.

You can also try adding peanuts: 1 cup of shelled peanuts with skins, added before the honey. I haven't tried this yet, but I'm tempted...


DSC_0026 (2)


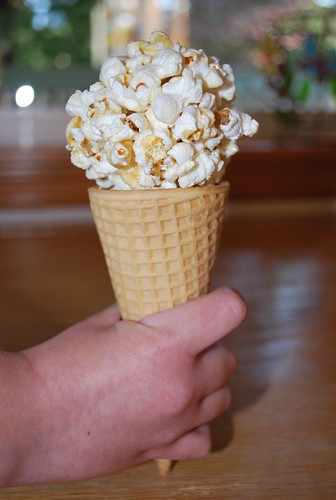
Picky insisted that I dig out an ice cream cone to serve, but that's purely optional. It did make a nice picture, but no one actually ate it that way.


DSC_0020 (2)

P.S. - the popper I have is aluminum, but the stainless one looked better, so I linked to this one:

February 20, 2010

sandwich maker pancakes!!!

DSC_0059

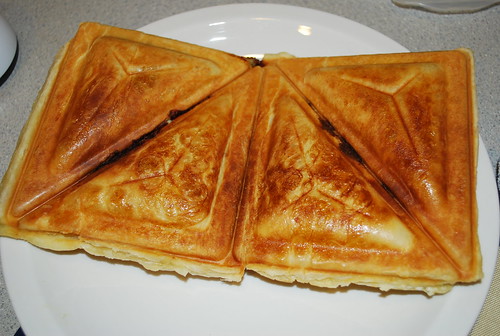
Ok, I'm not suggesting that you should run out and get another gadget for your kitchen...although I have seen these at thrift stores. I have owned a "sandwich maker" for about  8 years. Oh, you caught that, did you? Yes, my daughter is 5, but I've owned the maker for about 8 years, probably longer. Well, I got it originally for my husband, I admit. He had some nostalgic memories attached to the thing, I think. I remember working at a child care center when I was a teenager that had one, and they used it for snacks all the time: the kids loved the thing. Anyway, I have made sandwiches in it off-and-on for Picky, but just grilled cheese. They come out pretty good, although the cheese in the middle gets really really hot, which can be a problem when you have a child waiting who is hungry right now. Anyway, for some unknown reason, I decided recently to do a web search to see if there were any sandwich recipes specifically for a sandwich maker out there that I could use. And I discovered that you can make things besides sandwiches in there....I honestly never thought of that before!

I decided to give pancakes a try.

DSC_0053


They came out great!! You could use any pancake recipe (I have a decent one from Mollie Katzen's Sunlight Cafe that I could share, or check out this one on Isabelle's blog from King Arthur Flour.

DSC_0056

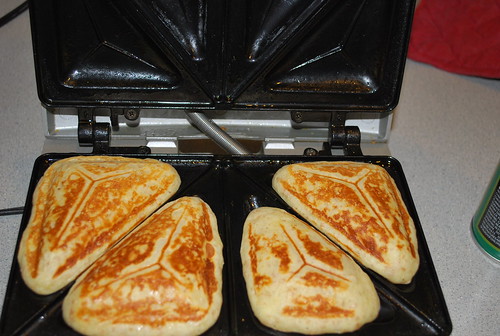
I heated the maker while I was getting the mix together, and then I sprayed it lightly with non-stick spray (you could use butter or margarine, but I think the spray is easier). I used a scoop to fill the triangles with batter, but I didn't really measure it (fill it full, but not too full). Then I closed the lid and set a timer for 4 minutes. When I opened the maker, I had perfect puffy triangle pancakes! 


DSC_0044

Picky thinks I should replace the picture of her making a "yucky face" on the blog with one of these "yummy face" pictures - what do you think?