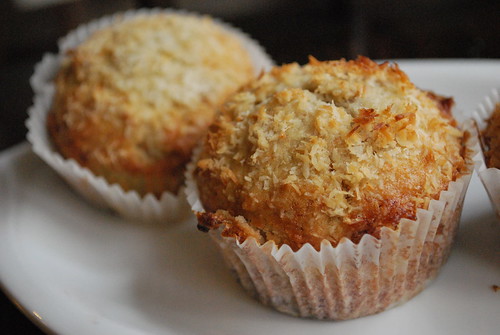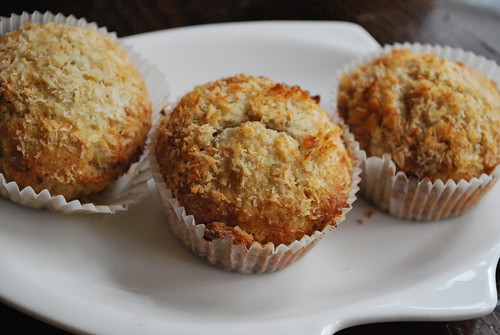
Vanilla Ricotta Muffins
Nonstick spray
1 1/2 cups unbleached all-purpose flour
1/2 cup dry milk powder
1/2 tsp salt
1 1/2 tsp baking powder
1/2 cup granulated sugar
1/4 tsp cinnamon
a pinch (or a few grates) of nutmeg
2 Tbsp (packed) light brown sugar
1 cup ricotta cheese
1/2 cup milk
2 large eggs
1 Tbsp vanilla extract
4 Tbsp (1/2 stick) unsalted butter, melted
- Preheat the oven to 350 - Lightly spray 8 standard (2 1/2 inch diameter) muffin cups with nonstick spray.
- Combine flour, powdered milk, salt, baking powder, granulated sugar, and spices in a medium-sized bowl. Crumble in the brown sugar, rubbing it with your fingers to break up clumps. Stir until blended
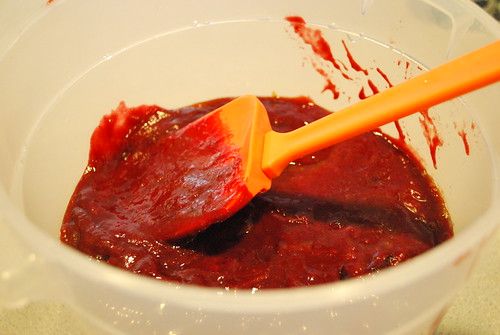
- Place ricotta in second bowl, beat in the milk. Add the eggs one at a time, beating well with a medium-sized whisk after each addition. Stir in the vanilla.
- Pour the ricotta mixture, along with the melted butter, into the dry ingredients. Using a spoon or a rubber spatula, stir from the bottom of the bowl until the dry ingredients are all moistened. Don't over-mix.
- Spoon the batter into the prepared muffin cups. For smaller muffins, fill the cups about four-fifths full. For larger muffins, fill them up to the top. If you have extra batter, spray one or two additional muffin cups with non-stick spray and fill with the remaining batter.
- Bake in the middle of the oven for 20 to 25 minutes, or until lightly browned on top and a toothpick inserted into the center comes out clean. Remove the pan from the oven, then remove the muffins from the pan and place them on a rack to cool. Wait at least 30 minutes before serving.
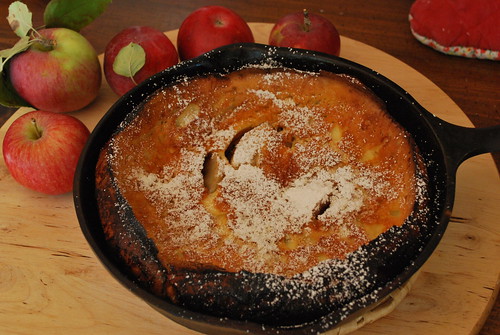
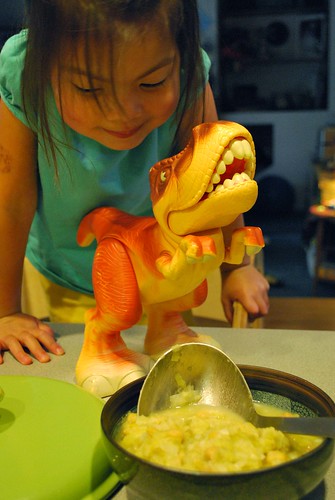
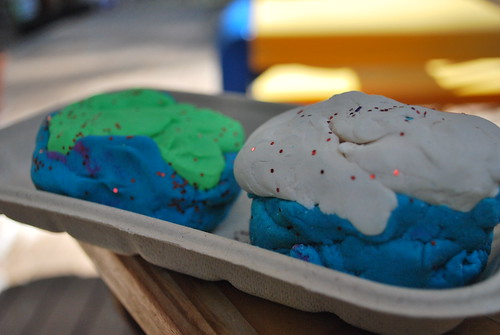
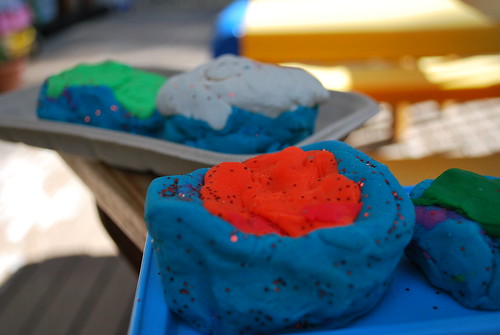
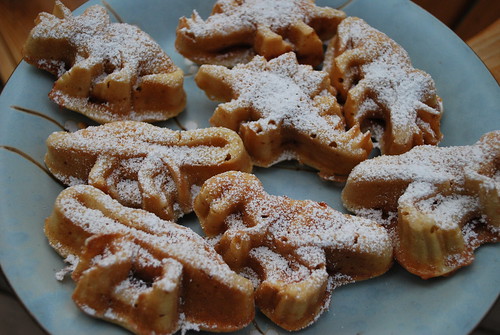
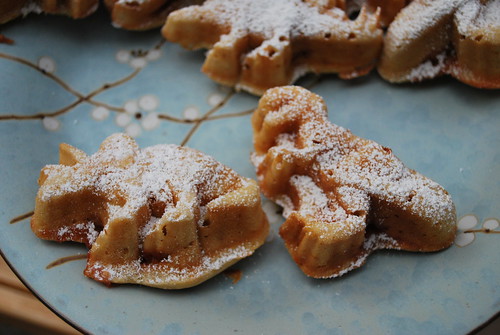
I also sprinkled powdered sugar on the top, which was a nice touch, I thought - you could still see the details of the dinosaurs. Of course, Picky wants frosting for her birthday, so frosting it is - but I think I'll serve it on the side, so that everyone can admire the beautiful dinosaurs for a few seconds before covering it with frosting and devouring it... sound good?